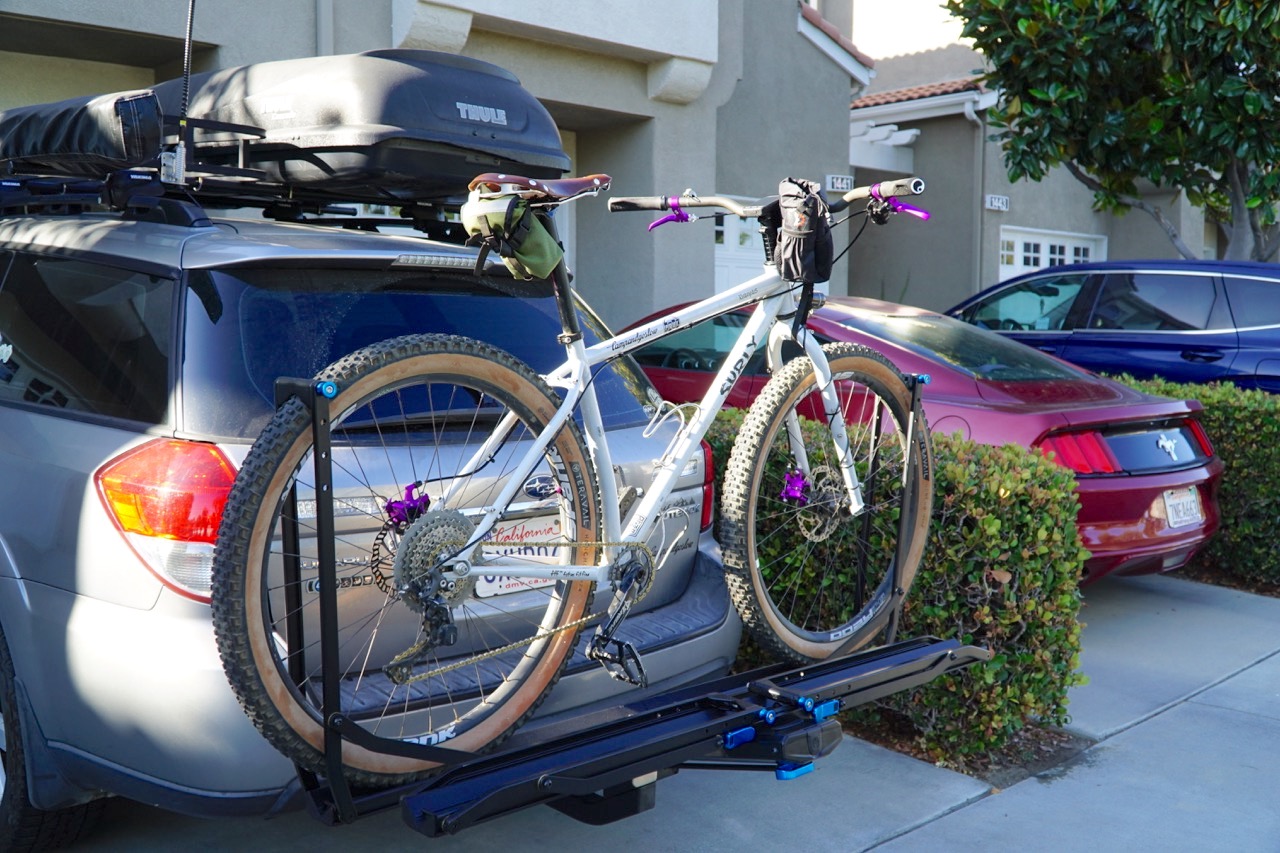
A few weeks ago, I was offered the opportunity to review the new Rocky Mounts GuideRail 2″ but was reluctant to do so. The reason being, I already owned a 1Up Super Duty Double that I bought about a year ago, and they were, what seemed to be, very similar racks.
I loved the simple aesthetic of both the GuideRail and the 1Up SD Double… I mean, that’s what attracted me to the 1Up originally.
But, how they look and how they hold the bikes, are where the similarities between the two end…
I don’t feel like I’ve had the GuideRail long enough to do a review yet, but I did want to give you guys my first thoughts on the install and some of the glaring initial differences between the 1Up and the GuideRail.
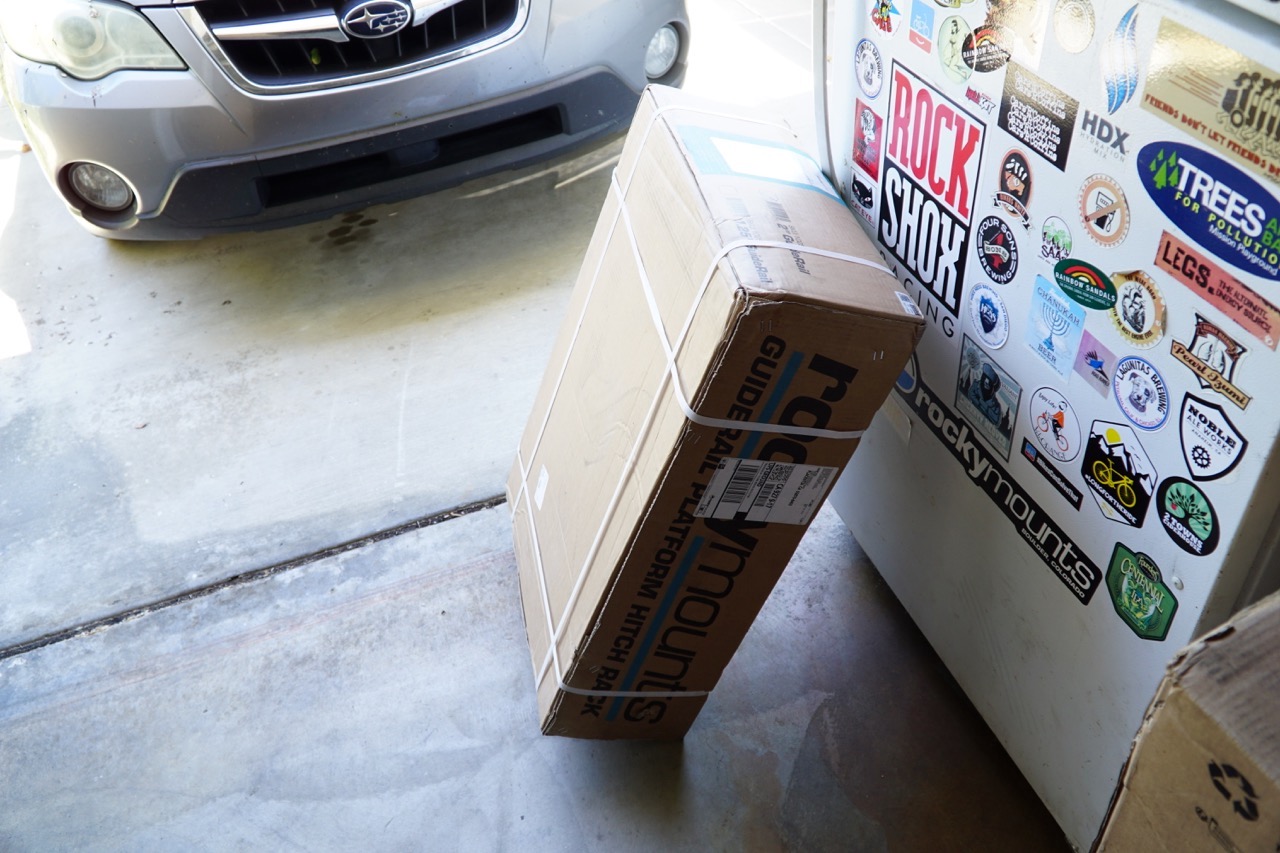
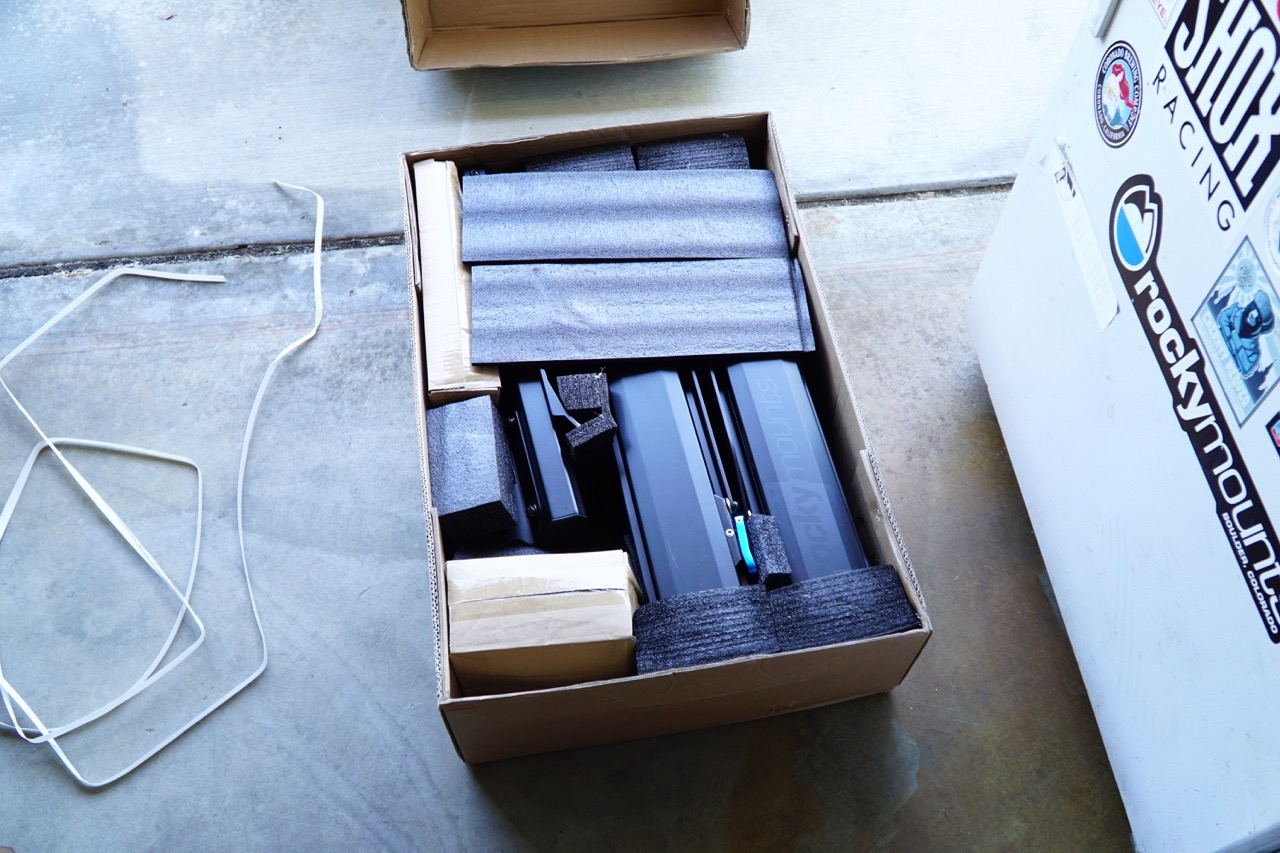
Unboxing
My first thought when it arrived and I grabbed it from the UPS Driver, was that it was surprisingly light. The box was small, so I thought there were going to be a lot of actual rack parts to assemble.
And I was right, there were quite a few actual rack pieces that needed to go together, but taking the rack down to smaller parts is what kept the box small and easy to ship. So kudos, Rocky Mounts.
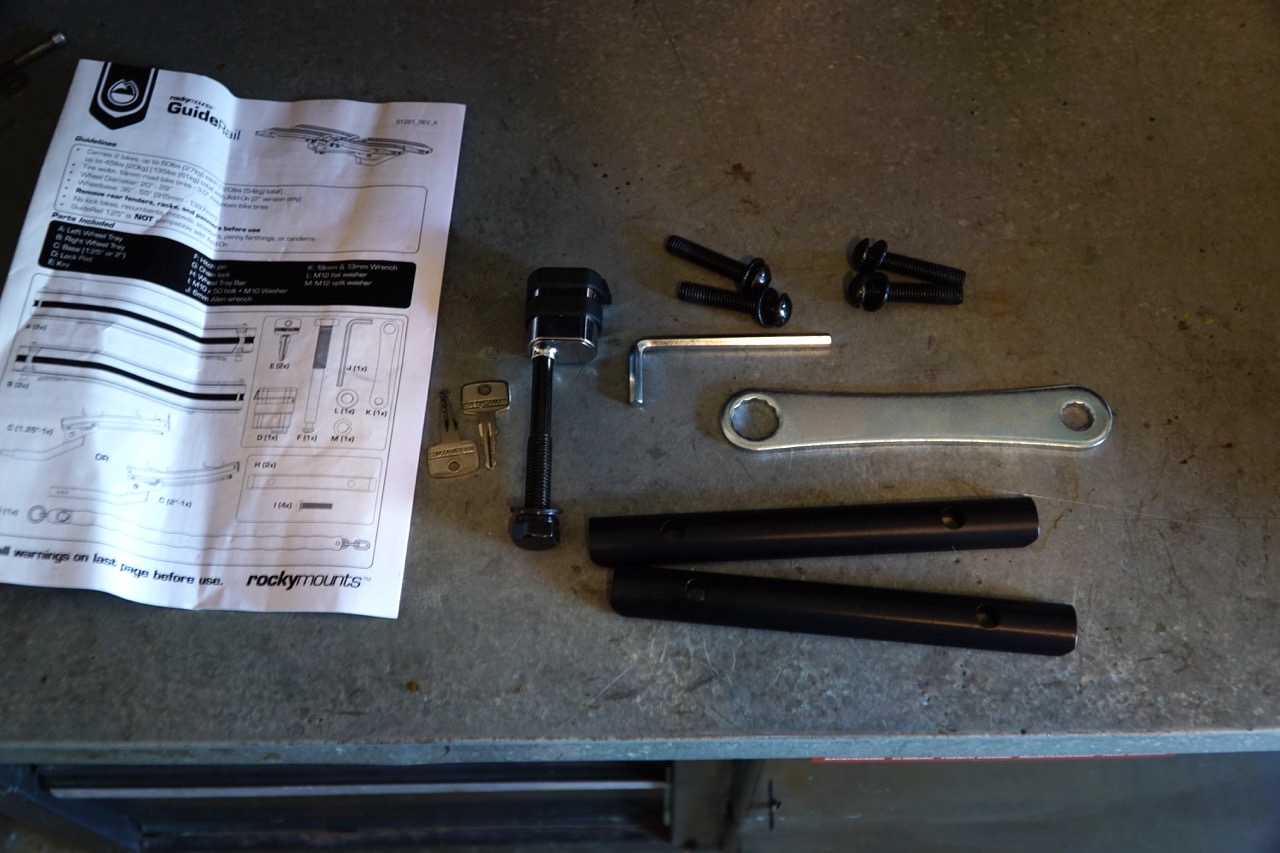
When I opened the small parts box, I was pleasantly surprised at the small number of parts that were in the box. The assembly directions were really good. To be frank, the design and assembly of the rack were so intuitive that I didn’t really need the directions to assemble anything… it seemed really obvious how it was going to go together. But I followed the directions regardless.
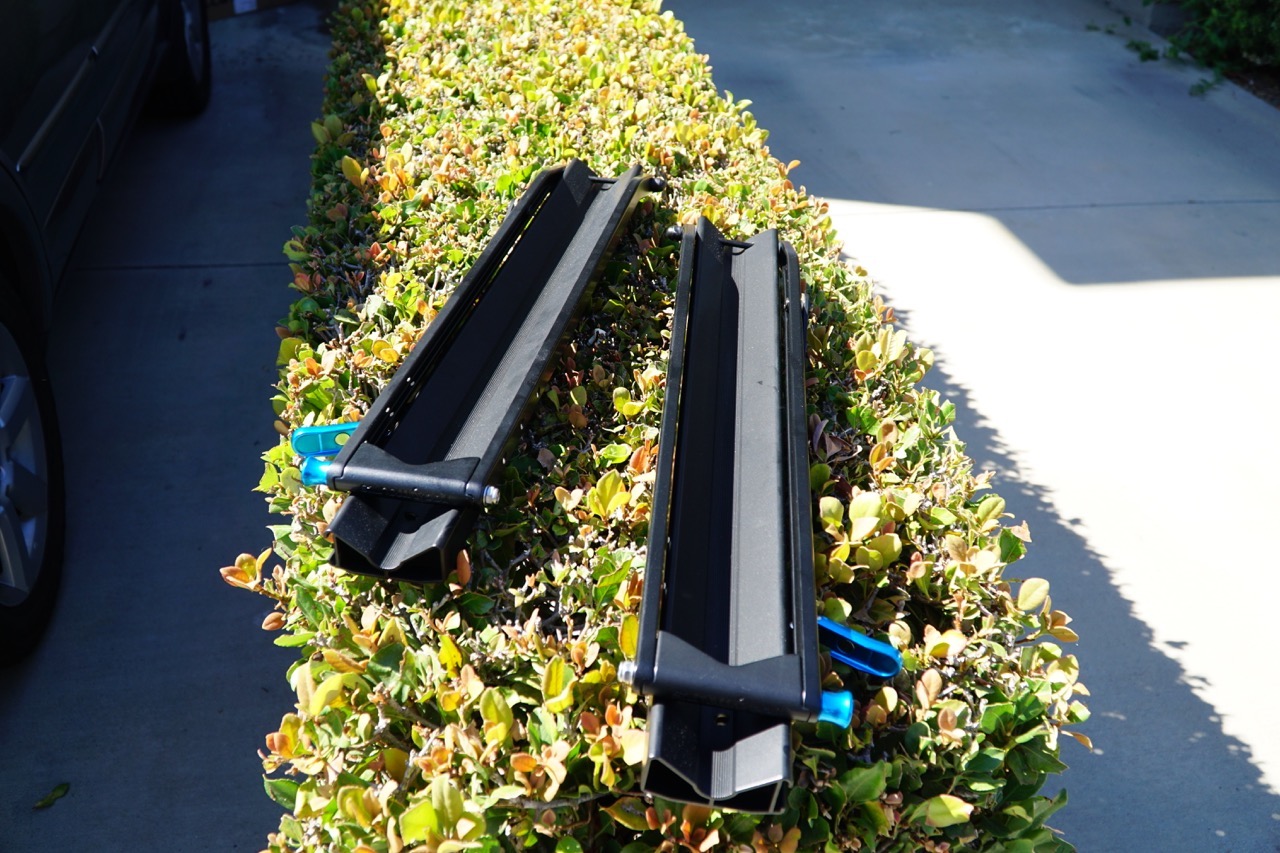
Upon removing parts from the box, I found myself inspecting for any plastic parts. For me, being a 1Up bike rack owner, “no plastic” was always a big deal. But as I looked at everything that I was unpacking, I noticed that very, very few of the parts Rocky Mounts used in the design of this rack, were plastic. There is a lot of attention to detail, all the way down to the brass washers used on all of the pivot areas.
Installation
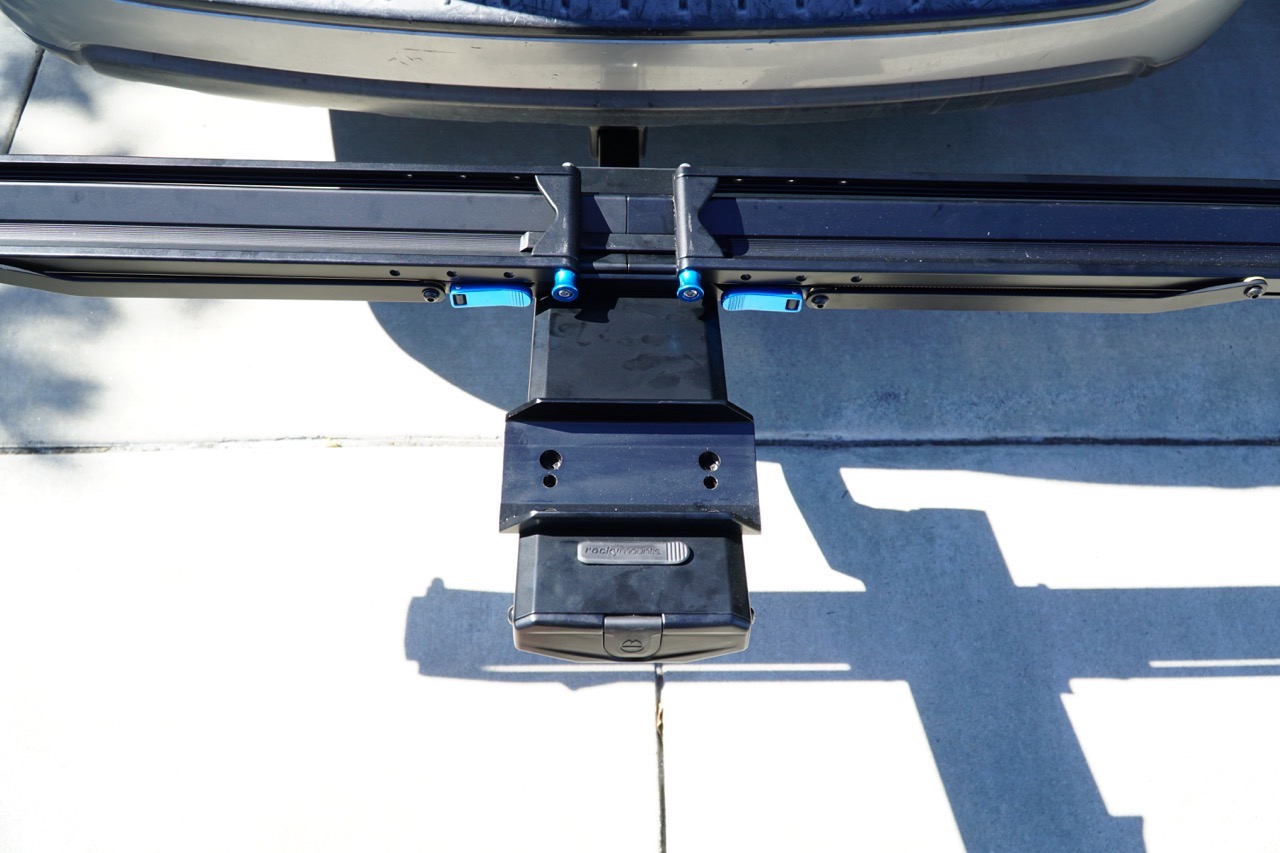
The rack came in basically 5 main pieces (not including small parts), the hitch/tray base or “spine”, and four “half trays”. The installation was so simple and intuitive. I slid the spine into the 2″ receiver and used the blue spine handle to lower the rack into the “use” position. Real quick… all of the “touch points” on the rack are anodized blue, that’s a nice touch and I think really adds to the overall aesthetics of the rack.
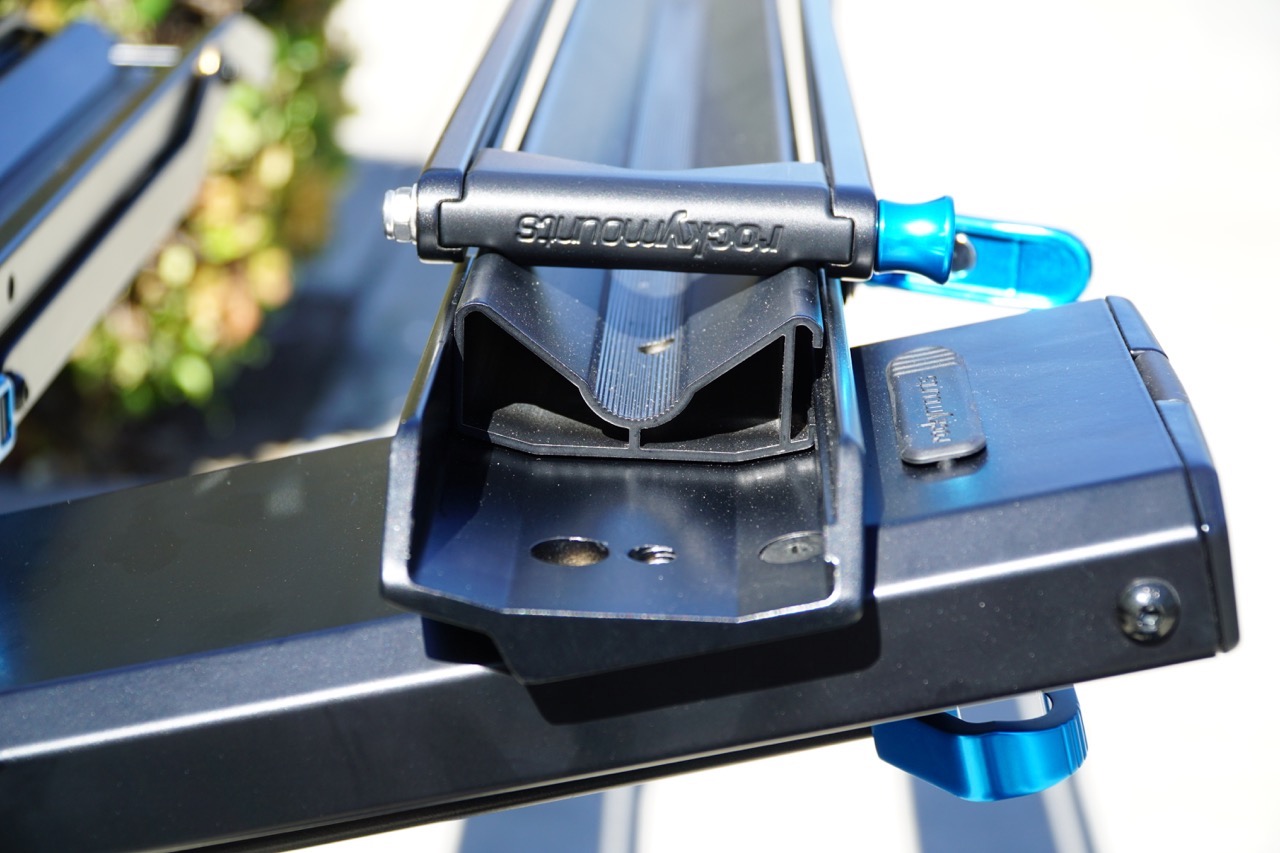
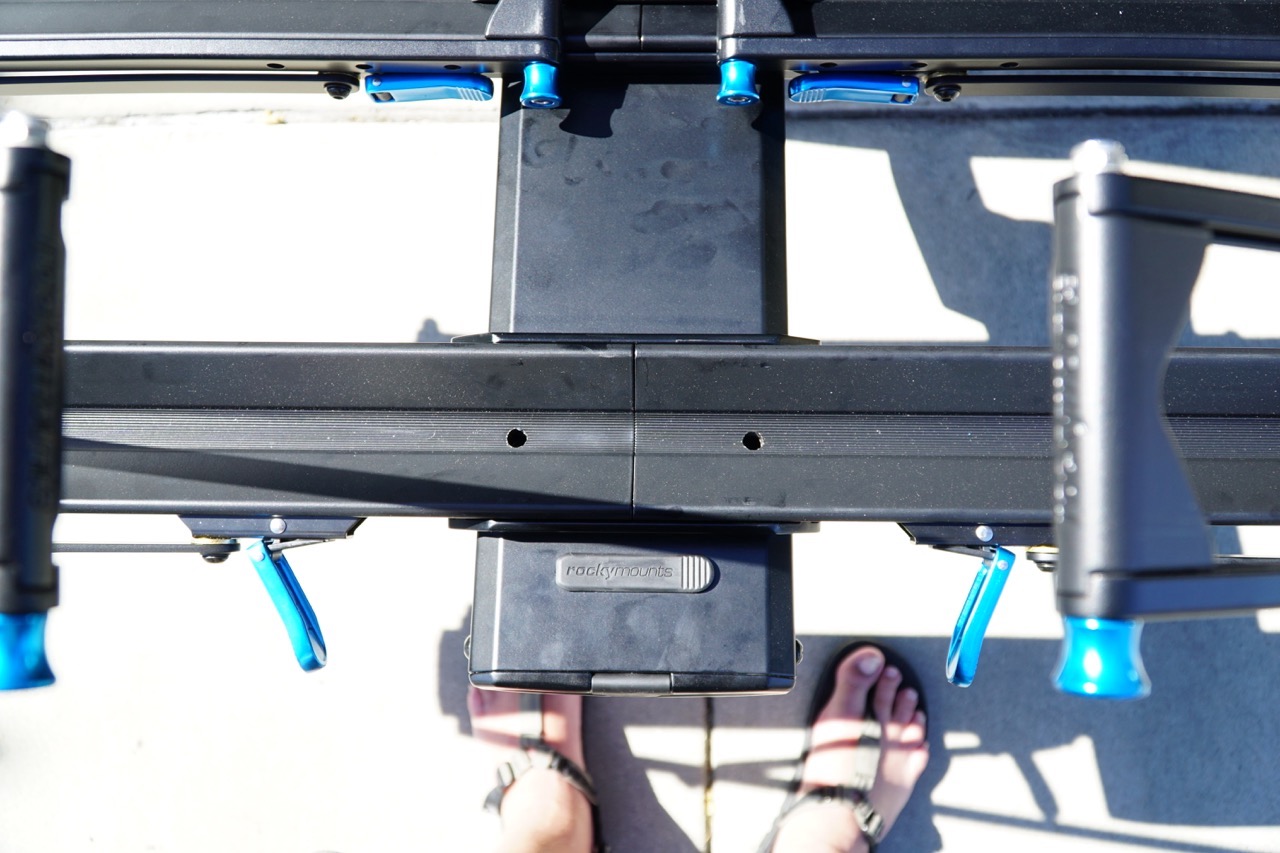
You slide the trays onto the spine from both ends, having them meet in the middle and line up with the mounting holes. Once they are lined up, you take the “wheel tray bar” and line that up with the holes in the wheel tray.

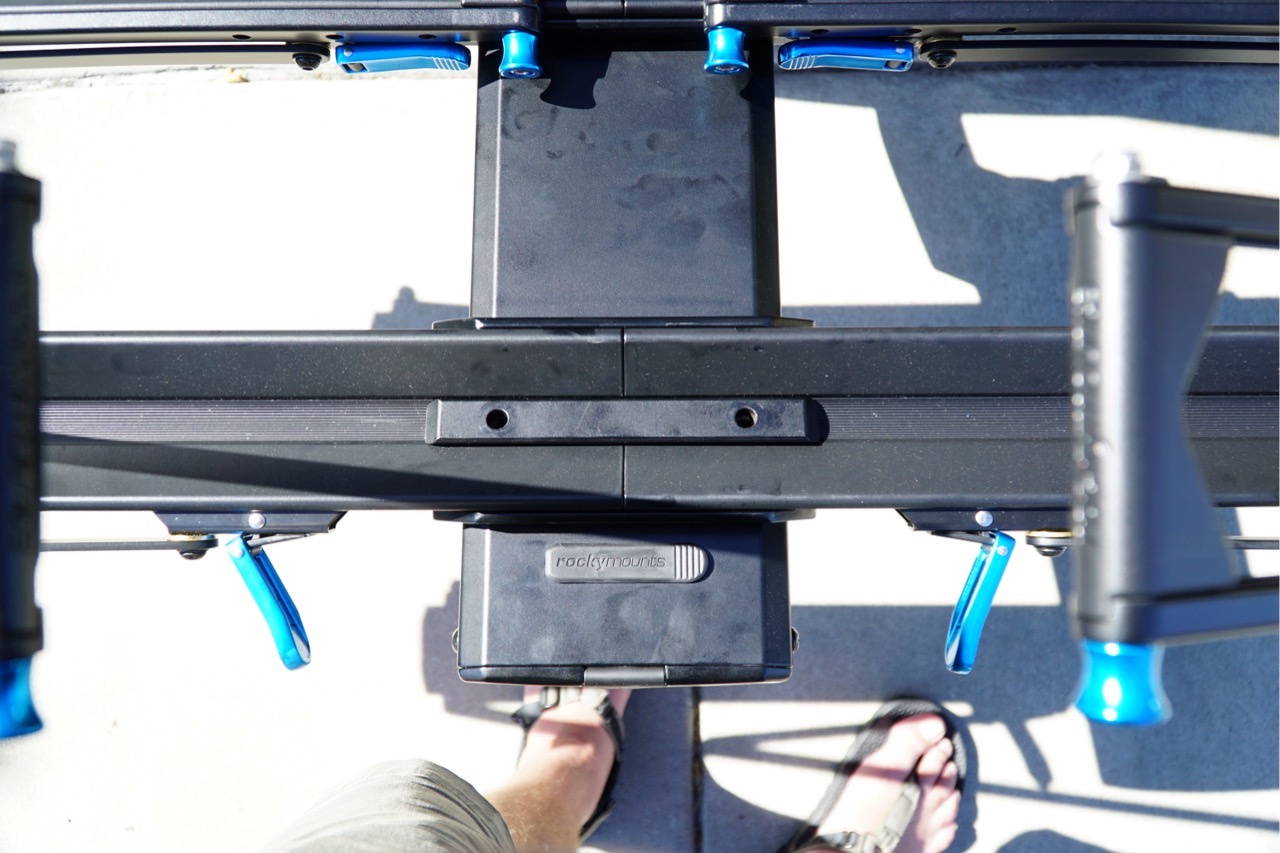
After mounting the wheel tray bar, secure the two half-wheel trays to the spine. I am just showing the outer wheels tray here, but you would repeat this process twice for the inner and outer wheel trays of the rack.
My Initial Thoughts
Remember, this isn’t the review of this rack, I just wanted to give you the skinny on how I received it and the installation of the rack. But I also have some initial thoughts, below.
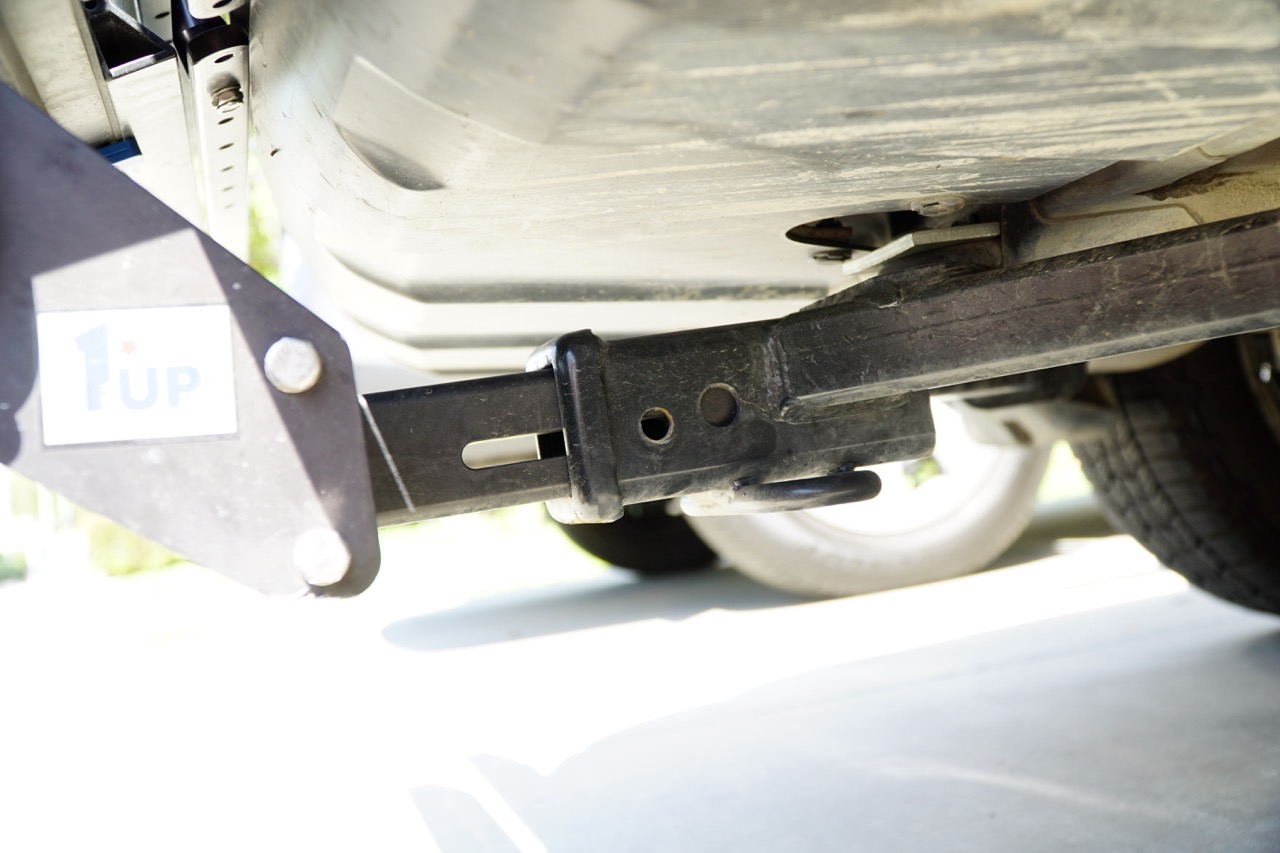
I drive a 2008 Subaru Outback named Shiela. The way the actual tow hitch/receiver is mounted to my Subaru is horrible. It sits really low, and very far under the rear bumper. That being said, the 1Up Super Duty Double would not fit and fold all the way up without modification.
It would, however, fit in the factory hole of my receiver with the rack folded down to the first slot, which 1Up calls the “extra clearance” position.
In their defense, they say that this “extra clearance” position is for larger bumpers or spare tires that get in the way of folding it to the “storage” position.
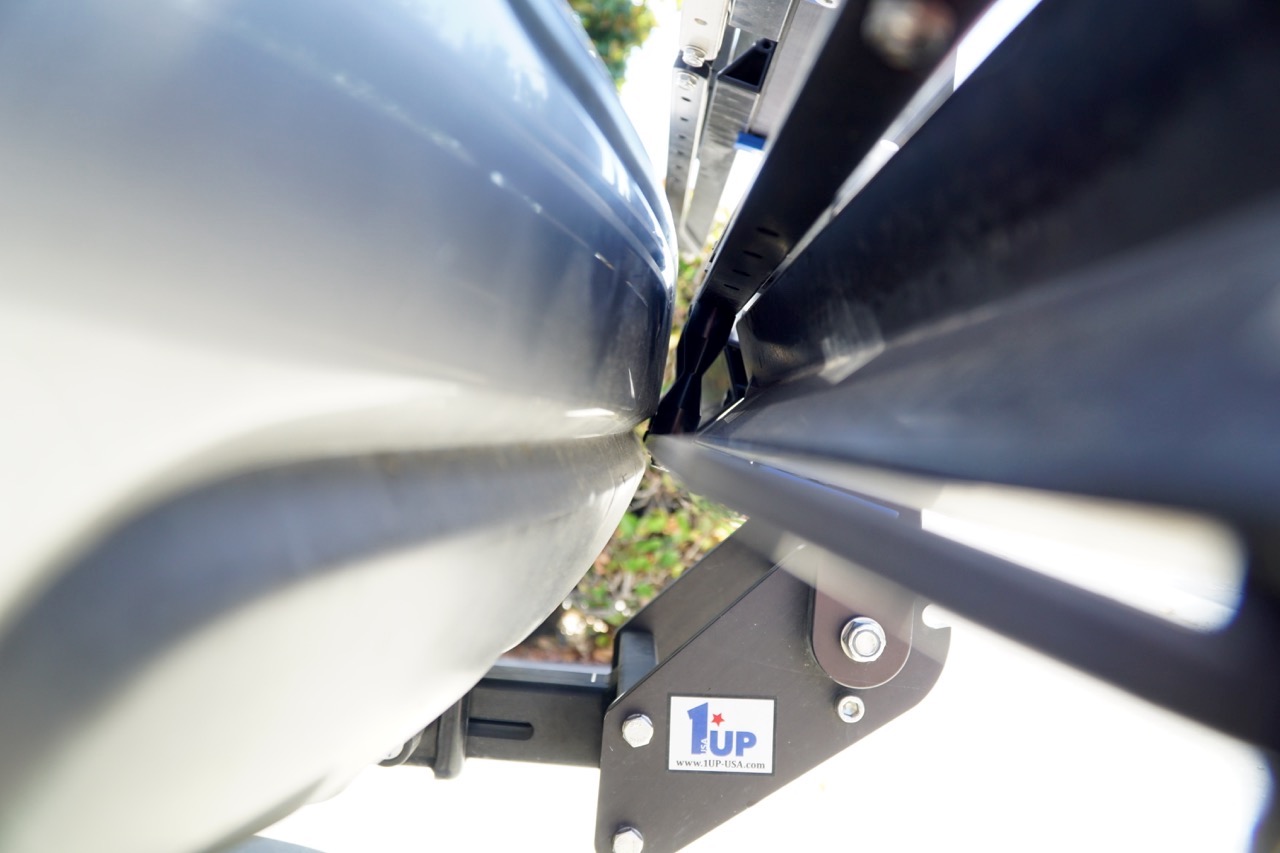
On the Subaru, the “extra clearance” position put the rack too far out and was aesthetically unpleasing for me. So, I opted to modify my receiver and drill an extra hole. When it’s closed in the “storage” position and pulled all the way out in the slot on the rack… it’s still really close.
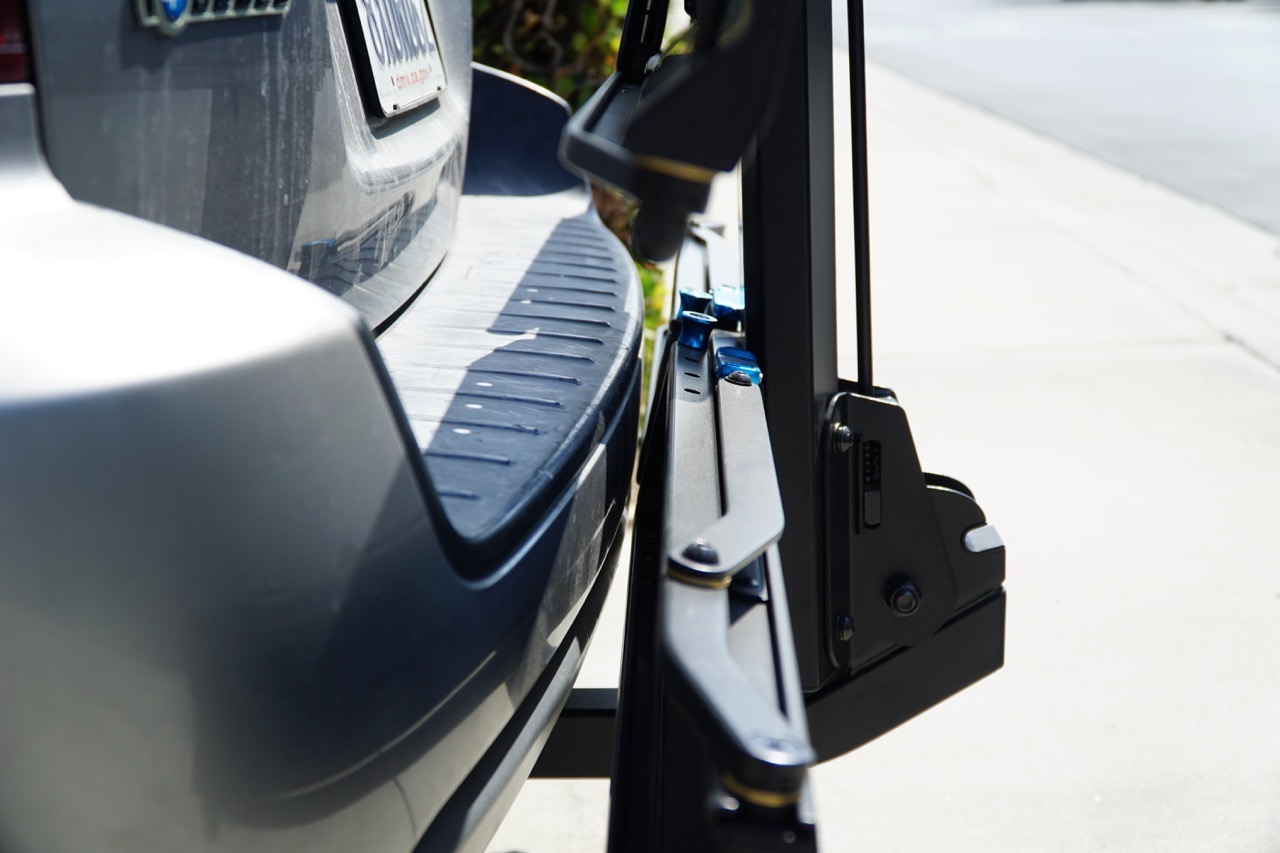
The Rocky Mounts GuideRail is still a really close fit… but, I didn’t have to modify anything and the receiver lock is in the proper factory hole on the receiver.
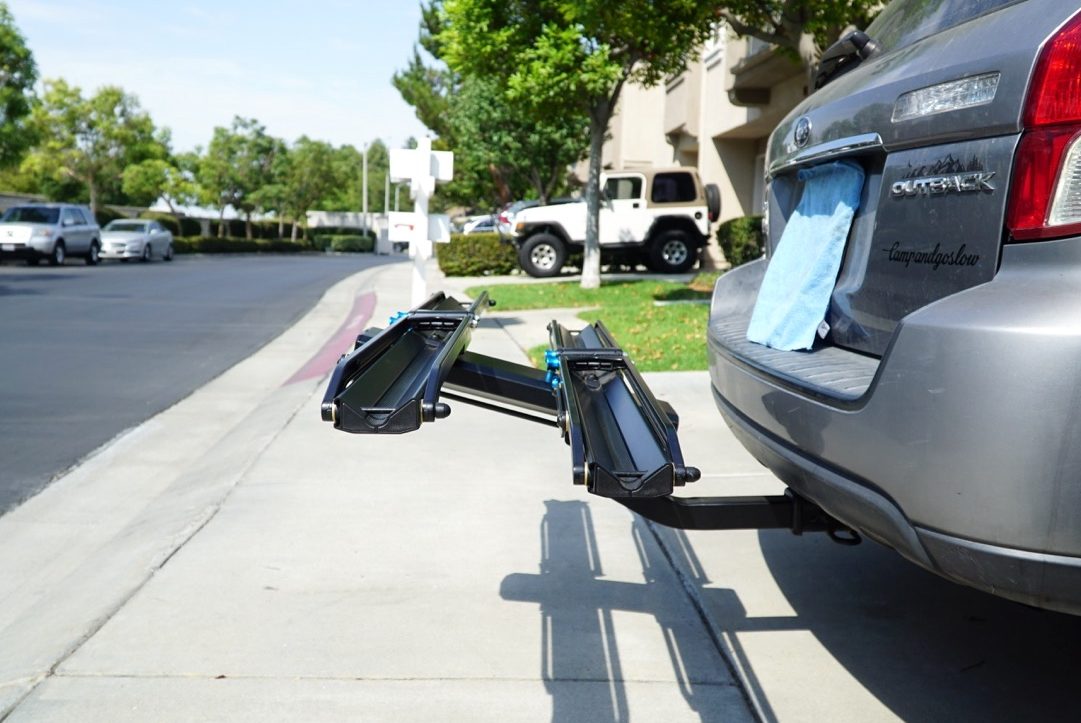
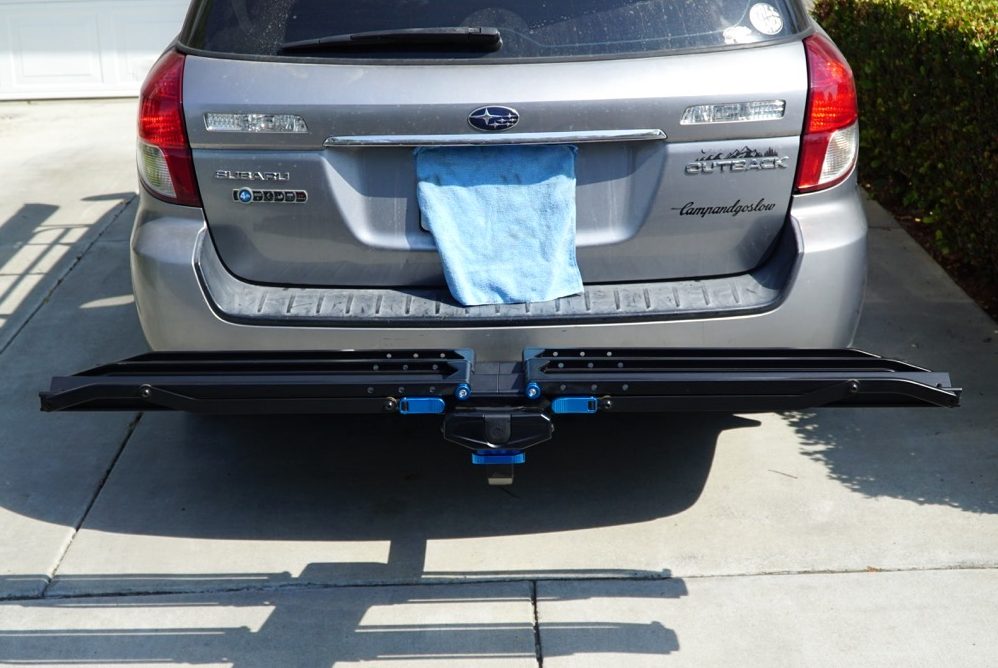
I’ll get into way more detail on the review, obvi, but still need some real time with the GuideRail. I will say that one of the glaring differences between the Rocky Mounts GuideRail and my 1Up Super Douty Double is the ratcheted load arm releases.
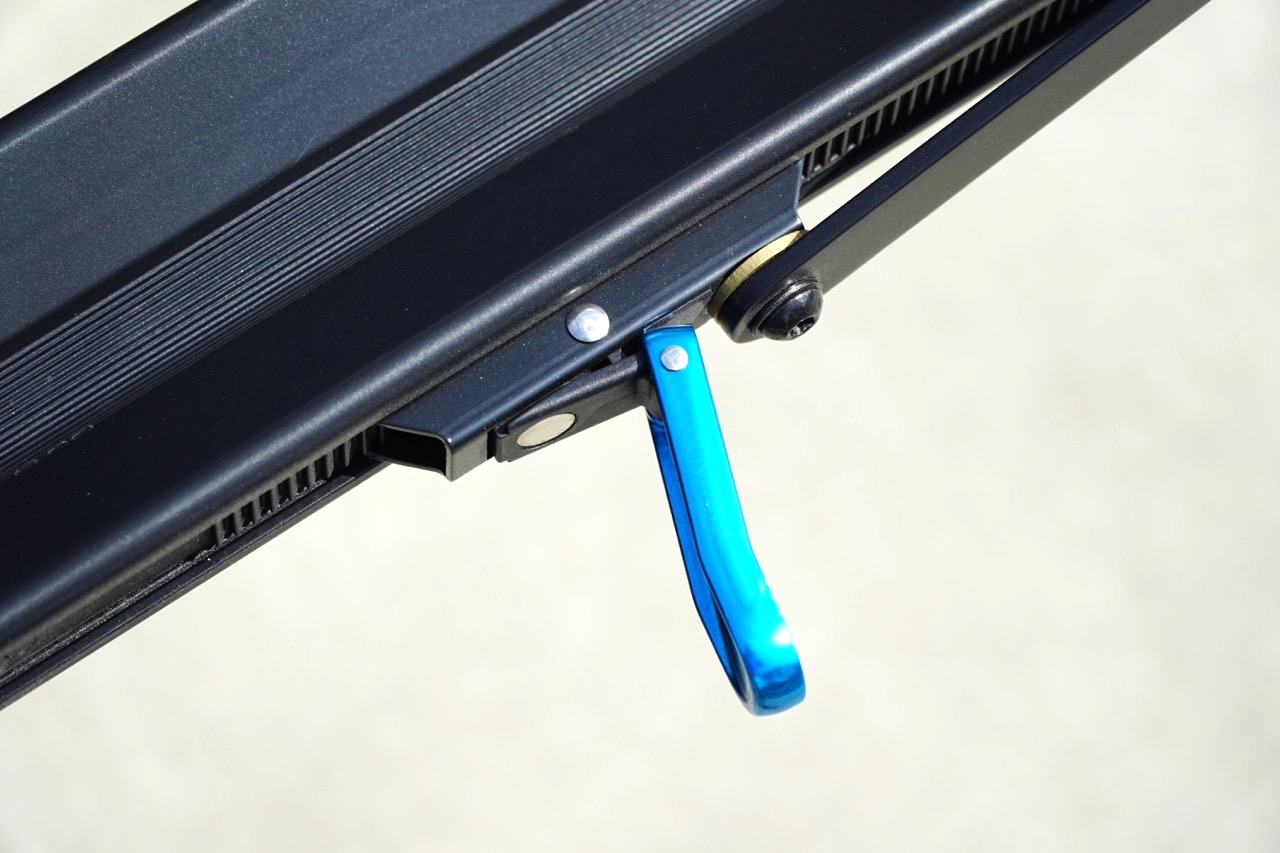
Being able to release and move the load arms up or down with one hand is, not to be dramatic, kind of a game changer and one thing that you can’t do with the 1Up rack.
You can see in the picture above that the release levers can be pulled out to a 90-degree position keeping the ratcheting mechanism disengaged allowing for free “up” or “down” movement of the load arms.
When the release levers are closed they ratchet again. You can also easily just push in the levers to do fine adjustments to the load arms. When engaged the ratcheting feels positive and strong.
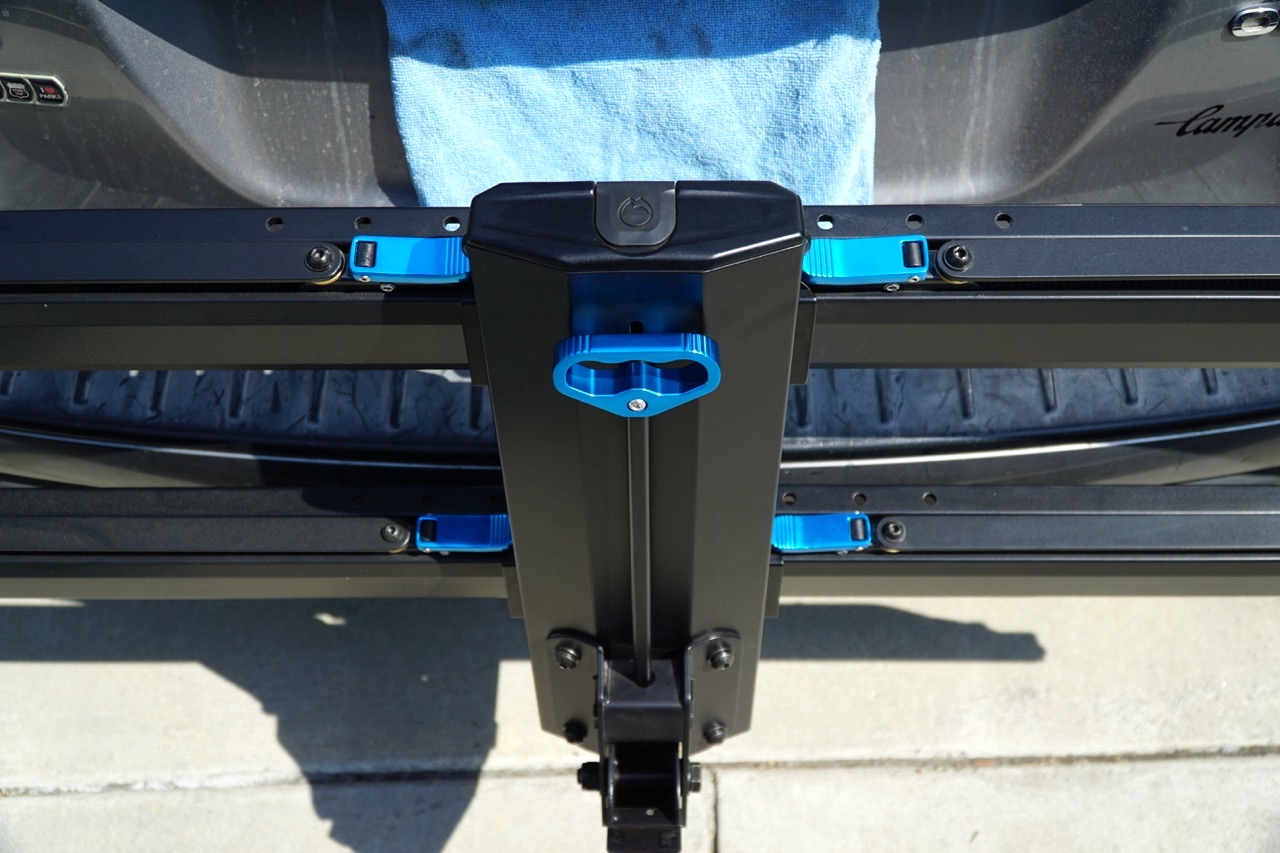
The last thing I will touch on is the GuideRails spine handle. The absolute ease of using the spine handle to raise into the “storage” position and lower the rack for access to the rear of the Outback or load the bikes is a real treat.
And honestly, a real welcome after dealing with 1Up’s mechanism… but we’ll touch on that and other big differences between the two racks that, upon first glance, look very, very similar.
I don’t want to spoil it…so, stay tuned!
